Best French Cookies Recipe – Delicious, Buttery, and Easy to Bake
Table of Contents
Introduction
French Cookies, or French butter cookies, originate from the Brittany region of France, a locale celebrated for its rich dairy products, particularly salted butter. The term “sablé” translates to “sandy,” aptly describing the cookie’s delicate, crumbly texture that melts in your mouth. These cookies are characterized by their tender crumb, buttery richness, and a subtle hint of saltiness, making them a quintessential French treat. Traditionally enjoyed with tea or coffee, French Cookies have become a beloved delicacy, embodying the simplicity and elegance of French patisserie.
Ingredients
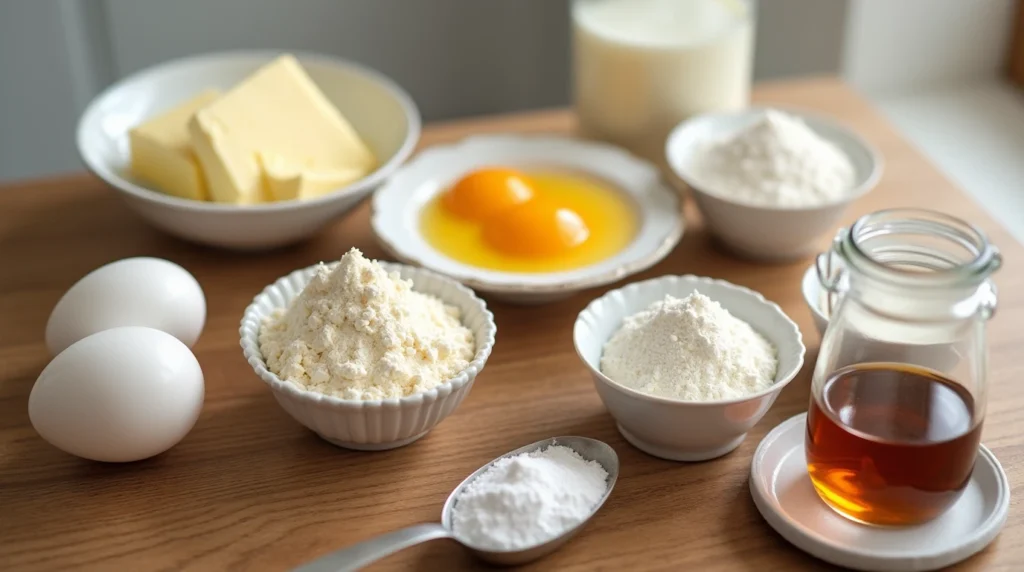
To craft authentic French Cookies, gather the following high-quality ingredients:
- Salted Butter: 125 grams (½ cup + 1 tablespoon), softened.
- Granulated Sugar: 100 grams (½ cup).
- Egg Yolks: 2 large, at room temperature.
- All-Purpose Flour: 170 grams (1⅓ cups), sifted.
- Baking Powder: 1 teaspoon.
- Fleur de Sel: ¼ teaspoon (optional, for enhanced flavor).
- Vanilla Extract: 1 teaspoon (optional, for added depth).
The use of salted butter is paramount, as it imparts the distinctive flavor associated with Brittany’s renowned dairy products. If unavailable, unsalted butter with a pinch of fine sea salt can serve as a substitute. The combination of these simple ingredients results in a harmonious blend of sweetness and subtle salinity, characteristic of traditional French Cookies.

Equipment Needed
To ensure a seamless baking experience, prepare the following equipment:
- Mixing Bowls: Various sizes for combining ingredients.
- Stand or Hand Mixer: For creaming butter and sugar to achieve a light, fluffy texture.
- Sifter: To aerate flour and baking powder, ensuring a smooth dough.
- Rolling Pin: Essential for evenly rolling out the dough to the desired thickness.
- Cookie Cutters: Round or fluted, approximately 6 cm (2.5 inches) in diameter, to shape the cookies.
- Baking Sheets: Lined with parchment paper to prevent sticking and promote even baking.
- Cooling Rack: Allows cookies to cool uniformly, preserving their texture.
- Pastry Brush: For applying egg wash, giving the cookies a glossy finish.
- Fork: To create the traditional crosshatch pattern on the cookie surface.
Having these tools at hand will facilitate the baking process, ensuring that each step is executed with precision, resulting in perfectly crafted French Cookies.
Preparation Steps
1. Creaming the Butter and Sugar
Begin by placing the softened salted butter into a mixing bowl. Using a stand or hand mixer, beat the butter on medium speed until it becomes creamy and smooth, approximately 2-3 minutes. This process incorporates air, contributing to the cookie’s tender texture. Gradually add the granulated sugar, continuing to beat until the mixture is light and fluffy. Proper creaming ensures a uniform distribution of sugar, which is crucial for the cookie’s structure and sweetness.
2. Incorporating Egg Yolks
Once the butter and sugar are well combined, add the egg yolks one at a time, ensuring each yolk is fully integrated before adding the next. This gradual addition helps maintain the emulsion, preventing the mixture from curdling. If using vanilla extract, incorporate it at this stage to infuse the dough with a subtle aromatic flavor. The egg yolks not only enrich the dough but also contribute to its characteristic golden hue.
3. Adding Dry Ingredients
In a separate bowl, sift together the all-purpose flour, baking powder, and fleur de sel (if using). Sifting aerates the dry ingredients, ensuring a lump-free mixture and promoting a tender crumb in the finished cookies. Gradually add the dry ingredients to the wet mixture, mixing on low speed or by hand until just combined. Avoid overmixing, as it can develop gluten, leading to a tougher cookie. The goal is a cohesive dough that holds together without being overly worked.
4. Chilling the Dough
Once the dough has formed, shape it into a flat disc and wrap it tightly in plastic wrap. Refrigerate the dough for at least 1 hour, or up to overnight. Chilling the dough is a crucial step; it solidifies the butter, making the dough easier to handle and roll out. Moreover, it helps prevent excessive spreading during baking, ensuring the cookies maintain their intended shape and texture.
Shaping and Baking
1. Rolling Out the Dough
After the chilling period, remove the dough from the refrigerator and let it sit at room temperature for a few minutes if it feels too firm. On a lightly floured surface, roll out the dough to a uniform thickness of approximately 6 mm (¼ inch). Maintaining an even thickness is essential for consistent baking, ensuring all cookies bake at the same rate.
2. Cutting the Cookies
Using a 6 cm (2.5-inch) round or fluted cookie cutter, cut out shapes from the rolled dough. To achieve clean edges, press the cutter straight down without twisting. Gather any scraps, re-roll them, and continue cutting until all the dough is used. Place the cut-out cookies onto baking sheets lined with parchment paper, spacing them about 2.5 cm (1 inch) apart to allow for slight expansion during baking.
3. Applying the Traditional Finish
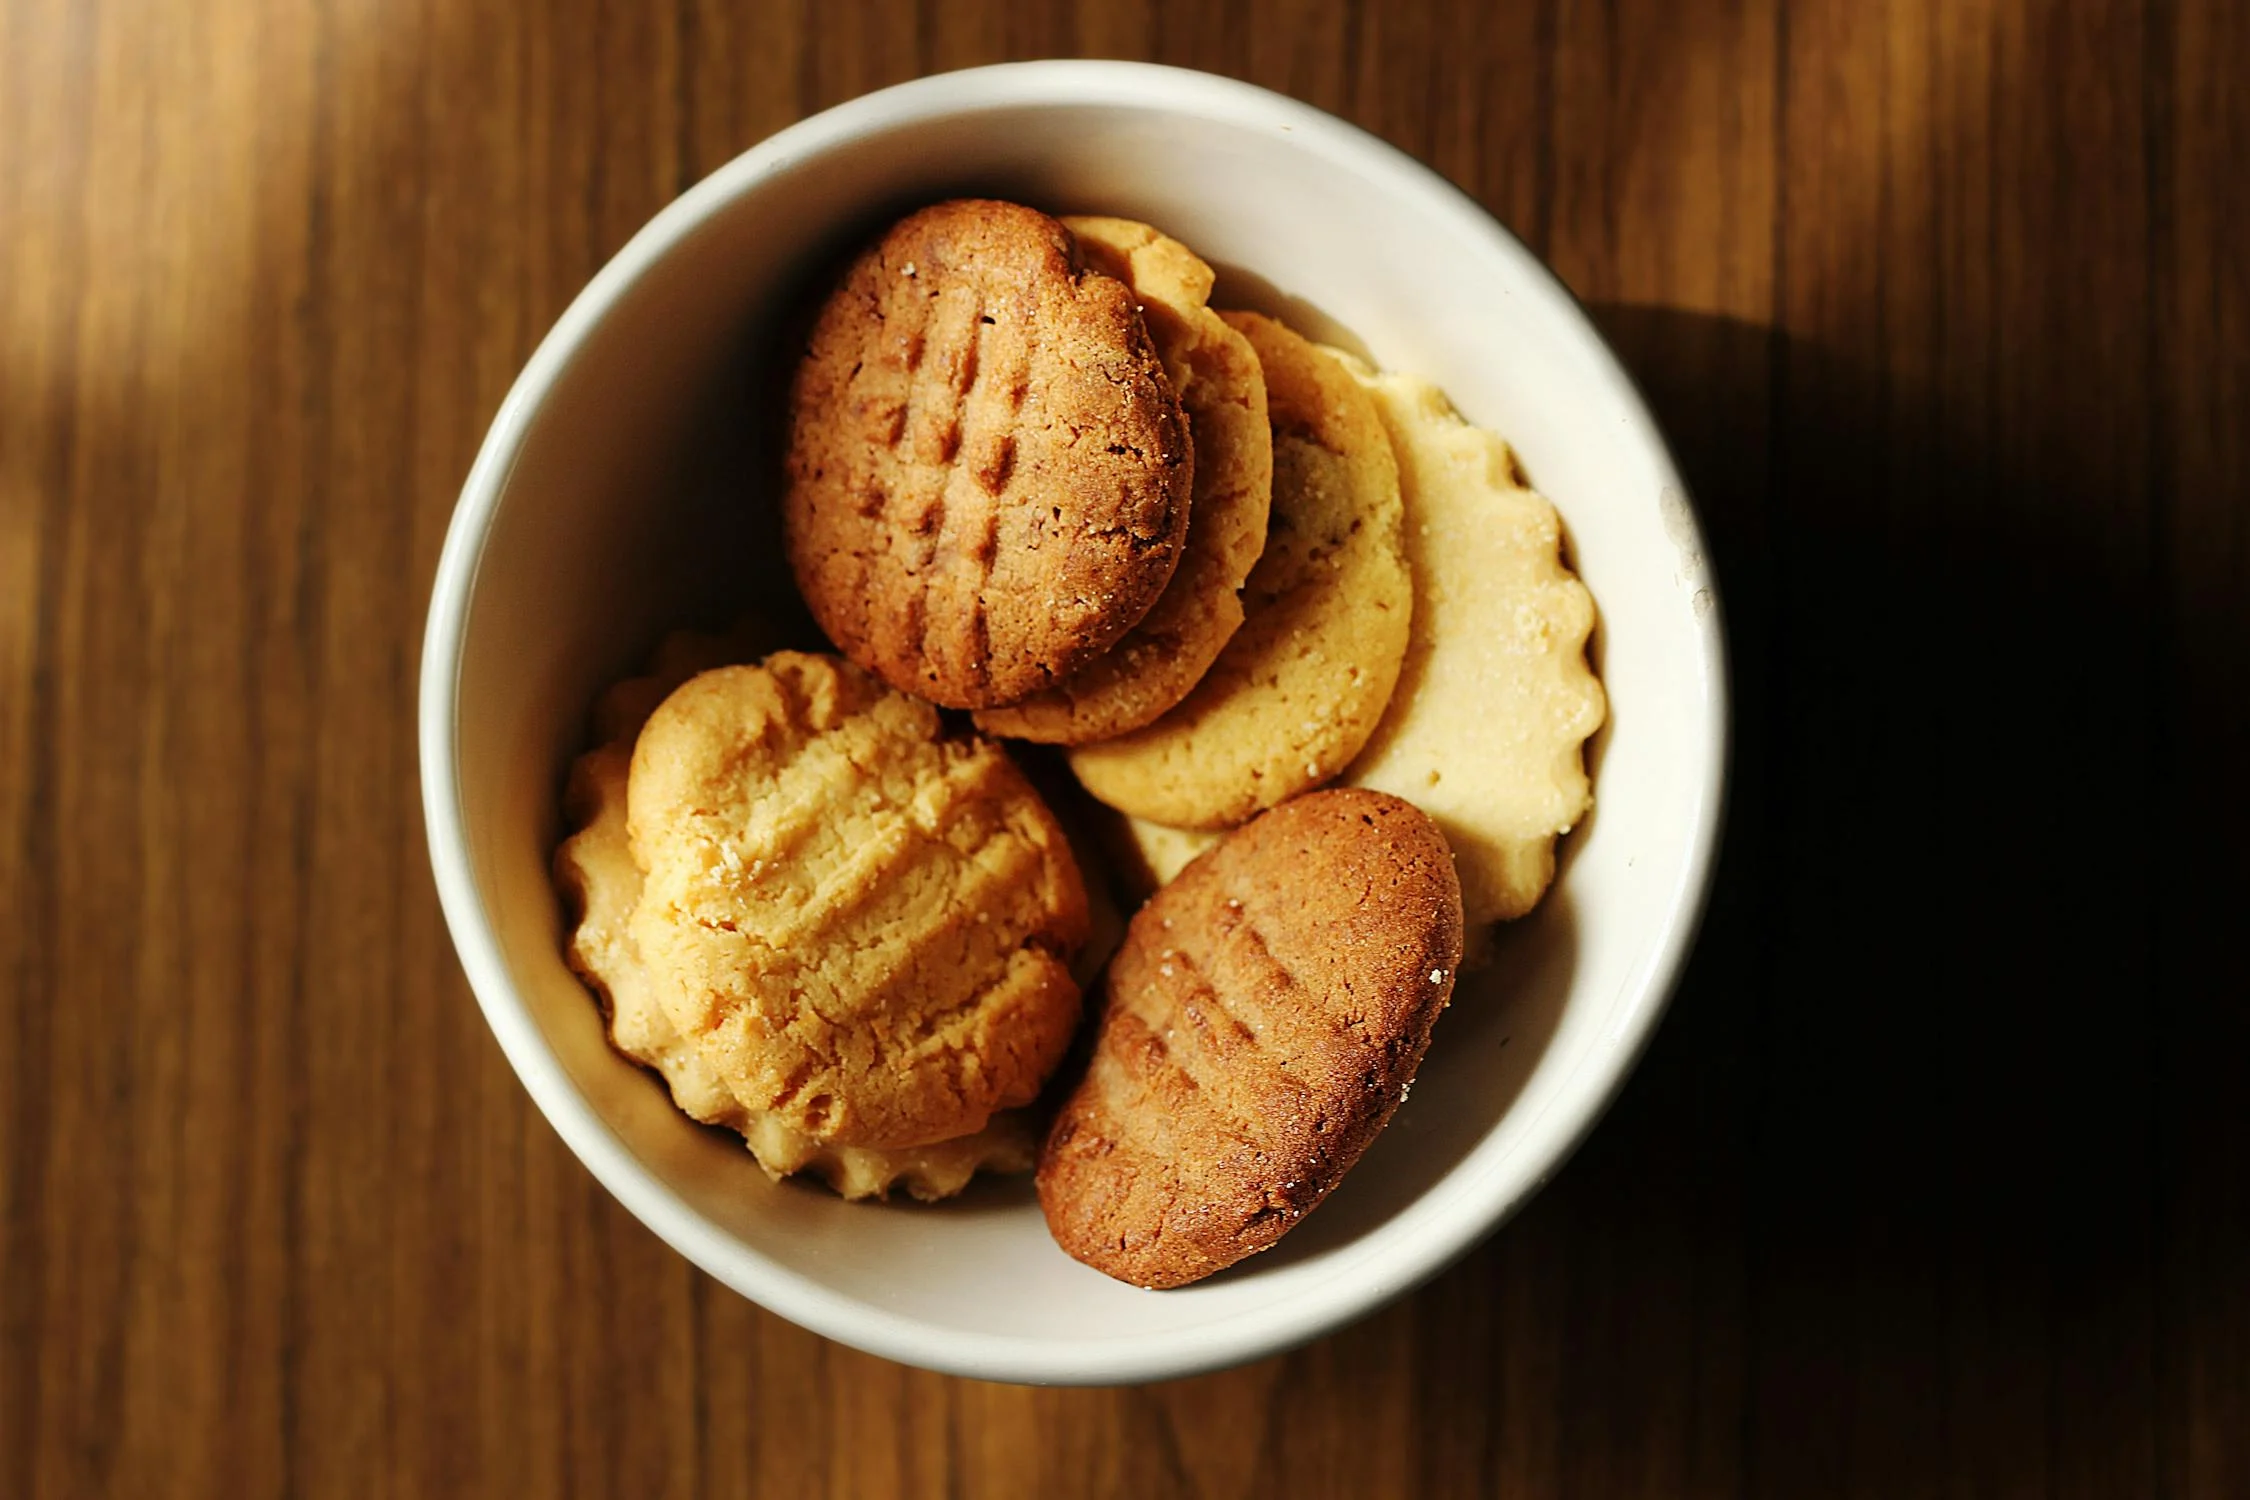
To achieve the classic appearance of French Cookies, gently beat an egg yolk with a teaspoon of water to create an egg wash. Using a pastry brush, lightly coat the surface of each cookie with the egg wash, which will impart a beautiful golden sheen upon baking. For the characteristic crosshatch pattern, gently score the tops of the cookies with the tines of a fork, creating perpendicular lines. This step not only enhances the visual appeal but also pays homage to traditional French baking techniques.
4. Baking
Preheat your oven to 350°F (175°C) to ensure it reaches the correct temperature before baking. Place the prepared baking sheets with the cookies into the oven and bake for approximately 12-15 minutes, or until the edges of the cookies turn a light golden brown. It’s essential to monitor the cookies closely during the final minutes, as overbaking can lead to a loss of the desired tender texture. Once baked, remove the cookies from the oven and allow them to cool on the baking sheets for a few minutes to firm up before transferring them to a cooling rack to cool completely.
Variations
While traditional French Cookies are delightful on their own, various adaptations can introduce new flavors and textures:
- Flavor Additions:
- Citrus Zest: Incorporate finely grated lemon or orange zest into the dough for a refreshing citrus aroma.
- Spices: A pinch of ground cardamom or cinnamon can add warmth and depth to the cookies.
- Texture Variations:
- Sugar Topping: Sprinkling coarse sugar crystals on top before baking adds a pleasant crunch.
- Chocolate Dip: Once cooled, dip half of each cookie into melted dark or milk chocolate, then place on parchment paper until the chocolate sets, offering a rich contrast to the buttery cookie.
These variations allow bakers to personalize the classic recipe, catering to different taste preferences while maintaining the essence of the traditional Sablé Breton.

Storage and Serving Suggestions
Proper storage ensures that French Cookies retain their delightful texture and flavor:
- Storage:
- Room Temperature: Place the cooled cookies in an airtight container, where they will stay fresh for up to a week.
- Freezing: For extended storage, arrange the cookies in a single layer in a freezer-safe container, separating layers with parchment paper. They can be frozen for up to three months. To enjoy, allow them to thaw at room temperature for about 30 minutes.
- Serving:
- Beverage Pairings: French Cookies pair wonderfully with a cup of tea, coffee, or hot chocolate, making them an excellent choice for afternoon tea or as a light dessert accompaniment.
- Dessert Enhancements: Crumble the cookies over yogurt or ice cream to add a buttery crunch, or serve alongside fresh berries and a dollop of whipped cream for an elegant dessert.
Conclusion
French Cookies, with their rich buttery flavor and delicate crumb, exemplify the elegance of French baking traditions. Originating from Brittany, these cookies are a testament to the region’s renowned dairy heritage. By following the detailed steps outlined above, you can recreate this classic treat in your own kitchen, offering a taste of France that pairs perfectly with your favorite hot beverage or as a standalone indulgence. Whether enjoyed in their traditional form or with personalized variations, French Cookies are sure to delight the senses and become a cherished addition to your baking repertoire.
Frequently Asked Questions (FAQ)
1. Can I use unsalted butter instead of salted butter in French Cookies?
Yes, you can use unsalted butter if salted butter is unavailable. To replicate the subtle salinity characteristic of traditional French Cookies, add approximately 1/4 teaspoon of fine sea salt to the dough along with the dry ingredients. This adjustment will help achieve the desired flavor profile.
2. How should I store French Cookies to maintain their freshness?
Once the cookies have cooled completely, place them in an airtight container. Stored at room temperature, they will remain fresh for up to a week. For extended storage, you can freeze the cookies in a freezer-safe container for up to three months. When ready to enjoy, allow them to thaw at room temperature for about 30 minutes.
3. Is it necessary to chill the dough before baking?
Yes, chilling the dough is a crucial step in the preparation of French Cookies. Refrigerating the dough for at least one hour (or up to overnight) solidifies the butter, making the dough easier to handle and roll out. This process also helps prevent the cookies from spreading excessively during baking, ensuring they maintain their intended shape and texture.
4. Can I add flavors or ingredients to the traditional French Cookies recipe?
Absolutely. While the classic French Cookies are delightful on their own, you can introduce variations to suit your taste. Incorporating finely grated citrus zest (such as lemon or orange) adds a refreshing aroma, while a pinch of ground spices like cardamom or cinnamon can provide warmth and depth. Additionally, dipping cooled cookies in melted chocolate or sprinkling coarse sugar on top before baking can enhance both flavor and texture.
5. What is the significance of the crosshatch pattern on French Cookies?
The crosshatch pattern, created by gently scoring the tops of the cookies with a fork, is a traditional feature of French Cookies. This decorative touch not only enhances the visual appeal of the cookies but also reflects the classic French baking techniques passed down through generations. While it is not essential to the taste or texture, adding the crosshatch pattern pays homage to the cookie’s rich heritage.
Leave a Review
There are no reviews yet. Be the first one to write one.


