How To Make Perfect Chocolate Wafer Cookies From Scratch
Table of Contents
Introduction
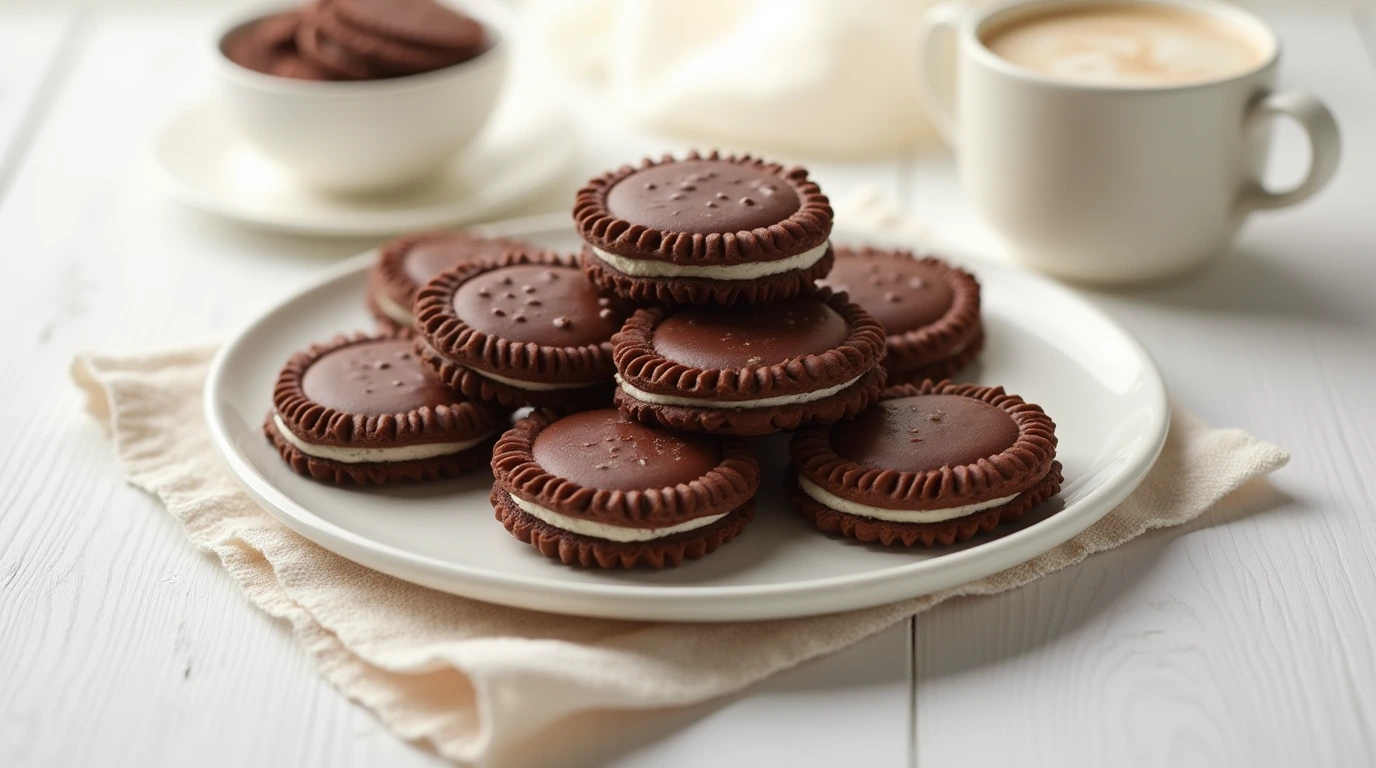
Chocolate wafer cookies are thin, crisp confections celebrated for their deep cocoa flavor and versatility in desserts. These cookies are typically crafted from a straightforward dough comprising all-purpose flour, granulated sugar, dark unsweetened cocoa powder, baking soda, salt, unsalted butter, milk, and vanilla extract. The preparation involves combining the dry ingredients, incorporating the butter until the mixture forms coarse crumbs, and then adding the milk and vanilla to create a cohesive dough. This dough is often shaped into a log, chilled, and subsequently sliced into thin rounds before baking, resulting in uniformly crisp cookies.
Homemade versions of chocolate wafer cookies are noted for their intense chocolate taste and lack of artificial additives, distinguishing them from many commercial counterparts. Beyond being enjoyed on their own, these wafers serve as foundational elements in various desserts; they can be crushed to form crusts for cheesecakes and pies, layered with fillings in icebox cakes, or used as components in ice cream sandwiches. Their delicate texture and rich flavor make them a staple in both home baking and professional patisserie.
Chocolate wafer cookies are versatile ingredients in various desserts, offering a rich cocoa flavor and crisp texture. One of their most popular applications is in icebox cakes, where layers of wafers are alternated with whipped cream and then chilled, allowing the cookies to soften into a cake-like consistency. Additionally, crushed chocolate wafers serve as excellent bases for pie and cheesecake crusts, providing a sturdy and flavorful foundation. They are also used in layered desserts like trifles, adding texture and depth. Beyond these, chocolate wafer cookies can be enjoyed on their own or incorporated into other sweet treats, showcasing their adaptability in the culinary world.
Ingredients
Basic Components
| Ingredient | Quantity |
|---|---|
| All-purpose flour | 1 cup (120 grams) |
| Granulated sugar | 1 cup (200 grams) |
| Unsweetened cocoa powder | 1/2 cup (45 grams) |
| Baking soda | 1 teaspoon |
| Salt | 1/2 teaspoon |
| Unsalted butter, softened | 1/2 cup (113 grams) |
| Milk | 1 cup (240 milliliters) |
| Vanilla extract | 1 teaspoon |
Chocolate wafer cookies are crafted using a selection of fundamental ingredients that contribute to their distinctive texture and rich flavor. The base of the dough consists of all-purpose flour, which provides structure to the cookies. Granulated sugar imparts sweetness, balancing the bitterness of the cocoa powder. Unsweetened cocoa powder, preferably Dutch-process, is essential for achieving a deep chocolate flavor and dark hue; Dutch-process cocoa is treated to neutralize its acidity, resulting in a smoother taste.
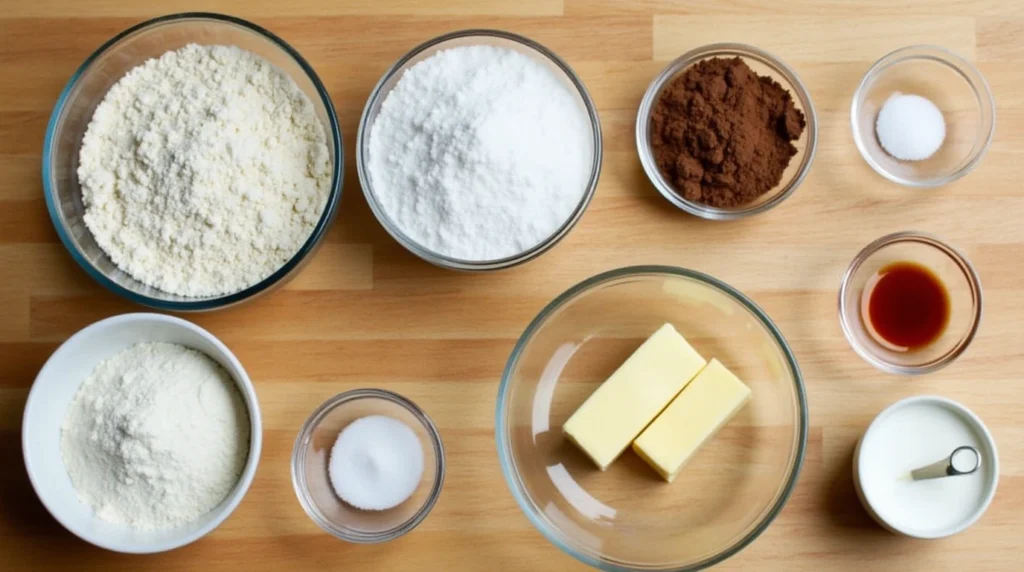
Leavening agents like baking soda are incorporated to ensure the cookies attain the desired crispness. A pinch of salt enhances the overall flavor profile by accentuating the sweetness and cocoa notes. Unsalted butter adds richness and contributes to the tender crumb of the cookies. Milk is included to moisten the dough, aiding in achieving the proper consistency. Finally, vanilla extract provides a subtle aromatic backdrop that complements the chocolate, rounding out the flavor profile.
Optional Enhancements
To elevate the complexity of chocolate wafer cookies, various optional enhancements can be introduced. Incorporating espresso powder is a popular method to intensify the chocolate flavor; the subtle coffee notes deepen the cocoa taste without imparting a distinct coffee flavor. Adding a dash of cinnamon introduces a warm, spicy undertone, offering a pleasant contrast to the richness of the chocolate. For those seeking added moisture and a nuanced sweetness, substituting a portion of the granulated sugar with honey or brown sugar can be beneficial; these ingredients not only enhance the flavor depth but also contribute to a slightly chewier texture.
Preparation Steps
Mixing the Dough
1. Sift together dry ingredients: flour, cocoa powder, baking soda, and salt.
Begin by sifting the all-purpose flour, unsweetened cocoa powder, baking soda, and salt into a medium-sized bowl. This process ensures that the cocoa powder is evenly distributed throughout the flour, preventing clumps and promoting uniform mixing. Sifting also aerates the dry ingredients, contributing to a lighter texture in the final cookies.
2. In a separate bowl, cream the butter and sugar until light and fluffy.
In a separate large mixing bowl, cream together the unsalted butter and granulated sugar until the mixture is light and fluffy. This step incorporates air into the butter, which is essential for achieving the desired crisp texture in the cookies. The creaming process typically takes about 2-3 minutes using an electric mixer on medium speed
3. Add milk and vanilla extract to the butter mixture; mix well.
Once the butter and sugar are well combined, add the milk and vanilla extract to the mixture. Mix thoroughly until the ingredients are fully incorporated. The milk adds moisture to the dough, while the vanilla extract enhances the overall flavor profile, providing a subtle aromatic backdrop that complements the chocolate.
4. Gradually incorporate dry ingredients into the wet mixture until a cohesive dough forms.
Gradually add the sifted dry ingredients to the wet mixture, stirring continuously until a cohesive dough forms. It’s important to mix just until the ingredients are combined to avoid overworking the dough, which can result in tough cookies. The dough should be smooth and pliable, ready for shaping.
Shaping the Cookies
1. Slice-and-Bake Method
Divide the dough into two equal portions and roll each into a log approximately 1¼ to 1¾ inches in diameter. Wrap each log tightly in plastic wrap and refrigerate for at least 2 hours or up to a week. Once chilled, slice the dough into thin rounds, about ⅛ inch thick, and place them on a parchment-lined baking sheet, spacing them about 1 inch apart. This method yields uniformly shaped cookies with minimal effort.
2. Rolled and Cut Method
Roll out the dough on a floured surface to a thickness of approximately ⅛ inch. Using cookie cutters of your choice, cut the dough into desired shapes. Transfer the cut cookies to a parchment-lined baking sheet, spacing them about 1 inch apart. This method allows for creative shapes and designs, adding a decorative element to the cookies.
Baking
Preheat the Oven: Preheat the oven to 350°F (175°C). Proper preheating ensures that the cookies bake evenly and achieve the desired crispness.
Arrange Cookies on Baking Sheet: Place the shaped cookies on a parchment-lined baking sheet, ensuring they are spaced about 1 inch apart to allow for slight expansion during baking. Using parchment paper prevents the cookies from sticking to the baking sheet and promotes even baking.
Bake the Cookies: Bake for 10-12 minutes, or until the edges are firm. Overbaking can result in overly crisp cookies, so it’s important to monitor the baking time closely. The cookies should have a firm edge and a slightly soft center upon removal from the oven.
Cool the Cookies: After baking, allow the cookies to cool on a wire rack. This cooling process is crucial for achieving the desired crispness and preventing the cookies from breaking due to residual heat. Once cooled, the cookies are ready to be enjoyed or used in various desserts.
Variations and Uses
Flavor Variations
- Mint Chocolate Wafers: To infuse a refreshing mint flavor into your chocolate wafer cookies, add a teaspoon of peppermint extract to the dough during the mixing process. This addition imparts a cool, crisp taste that pairs beautifully with the rich chocolate, creating a delightful contrast. Mint chocolate wafers are particularly popular during the holiday season and can be used in various desserts, such as mint chocolate ice cream sandwiches or layered mint chocolate cakes.
- Spiced Chocolate Wafers: For a warm, aromatic twist, incorporate spices like cinnamon or a hint of cayenne pepper into the dough. Adding a teaspoon of ground cinnamon introduces a cozy, spiced note that complements the chocolate’s depth. Alternatively, a pinch of cayenne pepper can add a subtle heat, enhancing the overall flavor profile. These spiced variations are excellent for creating unique desserts, such as spiced chocolate wafer crusts for pies or spiced chocolate wafer ice cream sandwiches.
Dessert Applications
- Icebox Cakes: Chocolate wafer cookies are a classic component in icebox cakes, where they are layered with whipped cream and refrigerated until the cookies soften into a cake-like consistency. To assemble, arrange a layer of chocolate wafers at the bottom of a dish, spread a layer of whipped cream over them, and repeat the process until all ingredients are used. Refrigerate the assembled cake for several hours or overnight to allow the flavors to meld and the texture to develop. This no-bake dessert is both simple to prepare and delightfully indulgent.
- Pie Crusts: Crushed chocolate wafer cookies can be transformed into a flavorful pie crust by mixing them with melted butter and pressing the mixture into the bottom of a pie dish. This crust serves as an excellent base for various pies, such as chocolate cream pies or no-bake cheesecakes, adding a rich, chocolatey foundation that enhances the overall dessert. The crisp texture of the wafer crust provides a delightful contrast to the creamy fillings.
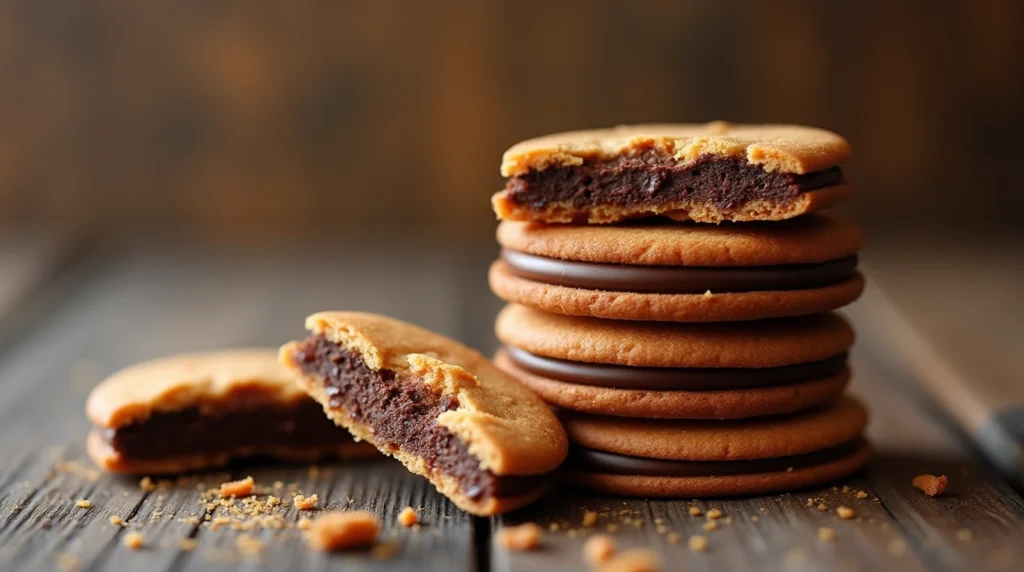
- Ice Cream Sandwiches: For a delightful frozen treat, sandwich a scoop of your favorite ice cream between two chocolate wafer cookies. The crispness of the wafers pairs perfectly with the creamy ice cream, creating a satisfying texture contrast. This combination allows for endless flavor possibilities, as you can experiment with different ice cream flavors and even roll the edges in sprinkles, chocolate chips, or crushed nuts for added texture and visual appeal.
Storage and Shelf Life
Proper Storage
To maintain the freshness and quality of your chocolate wafer cookies, it’s essential to store them correctly. Once the cookies have cooled completely, place them in an airtight container at room temperature. This method helps preserve their crisp texture and prevents them from becoming stale. Avoid storing cookies in containers that are not fully sealed, as exposure to air can lead to moisture loss or absorption, affecting the cookies’ texture and flavor. For added freshness, consider adding a slice of white bread to the container; the bread will absorb excess moisture, helping to keep the cookies from becoming too dry.
Shelf Life
When stored properly in an airtight container at room temperature, chocolate wafer cookies can remain fresh for up to two weeks. To extend their shelf life, you can freeze the cookies in a sealed container for up to three months. Freezing helps preserve the cookies’ flavor and texture, allowing you to enjoy them at a later time. Before freezing, ensure the cookies are completely cooled and placed in a container that prevents air exposure to maintain their quality. When ready to consume, thaw the cookies at room temperature for a few hours to restore their original texture.
Tips for Success
Achieving Desired Texture
- For Crispier Cookies, Roll Dough Thinner and Bake Slightly Longer: To achieve a crispier texture in your chocolate wafer cookies, roll the dough thinner before baking. A thinner dough allows for more even baking and results in a crispier cookie. Additionally, consider baking the cookies for a slightly longer time, but be cautious not to overbake, as this can lead to overly hard cookies. Monitor the baking process closely to achieve the perfect crispness.
- Ensure Uniform Thickness for Even Baking: Rolling the dough to a consistent thickness is crucial for even baking. Uneven dough thickness can result in some cookies being overbaked while others remain underbaked. Using a rolling pin with thickness guides or rolling the dough between two pieces of parchment paper can help maintain uniform thickness, ensuring all cookies bake evenly.
Enhancing Flavor
- Use High-Quality Cocoa Powder for a Richer Taste: The quality of cocoa powder significantly influences the flavor of your cookies. Opt for high-quality cocoa powder, preferably Dutch-process, as it provides a smoother and more intense chocolate flavor. Investing in quality cocoa powder can elevate the taste of your cookies, making them more enjoyable.
- Chill Dough Before Baking to Prevent Excessive Spreading: Chilling the dough before baking helps prevent the cookies from spreading too much during baking, which can lead to thin and overly crisp cookies. Refrigerating the dough solidifies the fats, allowing the cookies to maintain their shape and texture. Aim to chill the dough for at least 30 minutes before baking for optimal results.
Conclusion
Versatility of Chocolate Wafer Cookies
Chocolate wafer cookies are celebrated for their remarkable versatility, serving as both a delightful standalone treat and a foundational element in various desserts. Their crisp texture and rich chocolate flavor make them perfect for enjoying on their own, offering a satisfying snack for chocolate enthusiasts. Beyond standalone enjoyment, these cookies are integral components in numerous desserts. They can be crushed to create a flavorful crust for pies and cheesecakes, layered with fillings to form classic icebox cakes, or used as components in ice cream sandwiches. Their adaptability allows them to enhance a wide array of sweet creations, making them a staple in both home baking and professional patisserie.
Encouragement to Experiment
Bakers are encouraged to experiment with different flavor additions and dessert applications to personalize their chocolate wafer cookies. Incorporating ingredients like espresso powder can intensify the chocolate flavor, while adding spices such as cinnamon introduces a warm, aromatic note. Substituting a portion of the granulated sugar with honey or brown sugar can add moisture and depth to the flavor profile. Additionally, exploring various dessert applications—such as using the cookies in trifles, as a base for tarts, or layered in parfaits—can lead to delightful new creations. This experimentation not only enhances the versatility of chocolate wafer cookies but also allows bakers to tailor them to their personal taste preferences and culinary needs.
FAQ
1. What is the best type of cocoa powder to use for chocolate wafer cookies?
For a rich and deep chocolate flavor, it’s recommended to use dark unsweetened cocoa powder. Dutch-process cocoa can also be used for a milder taste and darker color. Avoid using sweetened cocoa powders, as they may make the cookies too sweet.
2. Can I use a different type of flour instead of all-purpose flour?
All-purpose flour is ideal for these cookies due to its balanced protein content. While you can experiment with other flours, such as whole wheat or gluten-free alternatives, the texture and flavor may vary. If using gluten-free flour, ensure it’s a blend suitable for baking to achieve the desired results.
3. How can I achieve a crisp texture in my chocolate wafer cookies?
To achieve a crisp texture, it’s essential to roll the dough thinly, typically to about 1/8-inch thickness. Baking the cookies until the edges are firm and allowing them to cool completely on a wire rack will also help maintain their crispness.
4. Can I freeze the dough for later use?
Yes, you can freeze the dough. After shaping it into logs and wrapping them tightly in plastic wrap, freeze for up to two months. When ready to bake, thaw the dough in the refrigerator overnight before slicing and baking as directed.
5. How do I prevent the cookies from spreading too much during baking?
To prevent excessive spreading, ensure the dough is chilled before baking. Additionally, lining your baking sheets with parchment paper can help maintain the cookies’ shape and prevent sticking.
Leave a Review
There are no reviews yet. Be the first one to write one.

