Mini Cupcakes: Bite-Sized Happiness in Every Bite
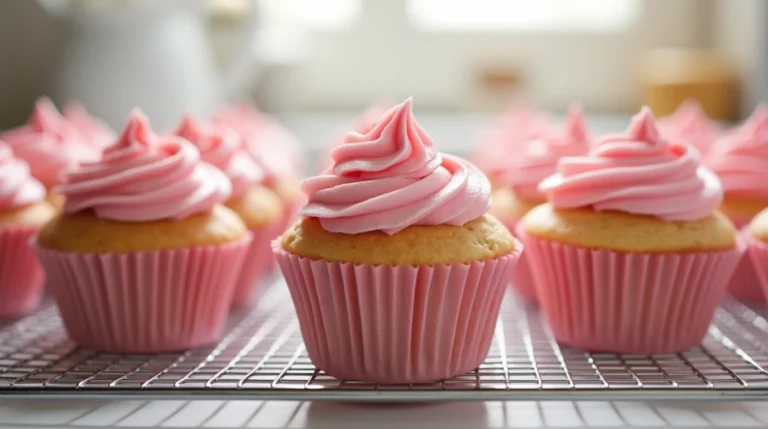
There’s something undeniably charming about mini cupcakes. They’re like the fun-sized candy bars of the baking world — adorable, irresistible, and just the right size to keep you coming back for more. I still remember the first time I baked mini cupcakes for a birthday party. The kids were fascinated by their tiny size, while the adults marveled at how guilt-free indulging in a couple (or a dozen) felt.
Mini cupcakes are not only fun to eat but also incredibly versatile. Perfect for parties, baby showers, bake sales, or even just an afternoon pick-me-up, these little treats are a guaranteed crowd-pleaser. Plus, they bake in a flash, making them an ideal choice for when you need a dessert in a hurry.
Table of Contents
Why You’ll Love Mini Cupcakes
- Perfect for Sharing: Everyone gets their own bite-sized treat.
- Faster Baking Time: No waiting around for a giant cake to bake.
- Customizable: You can easily experiment with flavors and toppings.
- Portion Control: (In theory!) It’s easier to manage your sweet intake.
- Kid-Friendly: Kids love their tiny size and decorating them is always a blast.
The Magic of Mini Cupcakes
Did you know that cupcakes have been around since the late 18th century? Originally called “number cakes” because of the simple measurements (1 cup butter, 2 cups sugar, 3 cups flour, etc.), they’ve evolved into the beautifully decorated treats we know and love today. The mini version became popular as people realized that smaller portions meant easier snacking and, of course, more opportunities to try different flavors.
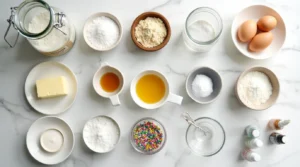
Ingredients You’ll Need
For the Mini Cupcakes:
- 1 1/4 cups all-purpose flour
- 1 1/2 tsp baking powder
- 1/4 tsp baking soda
- 1/4 tsp salt
- 1/2 cup unsalted butter, softened
- 3/4 cup granulated sugar
- 2 large eggs
- 1 tsp vanilla extract
- 1/2 cup sour cream or plain Greek yogurt
- 1/4 cup whole milk
For the Frosting:
- 1 cup unsalted butter, softened
- 3 cups powdered sugar
- 2-3 tbsp milk or heavy cream
- 1 tsp vanilla extract
- Food coloring (optional)
- Sprinkles or toppings of your choice
Step-By-Step Instructions
Step 1: Preheat and Prepare
Preheat your oven to 350°F (175°C) and line a mini muffin tin with mini cupcake liners. If you don’t have liners, lightly grease the wells with a bit of butter or non-stick spray.
Step 2: Mix the Dry Ingredients
In a medium bowl, whisk together the flour, baking powder, baking soda, and salt. Set aside. This ensures your cupcakes rise perfectly.
Step 3: Cream the Butter and Sugar
In a large bowl, beat the softened butter and granulated sugar together until light and fluffy. This takes about 2-3 minutes using a hand mixer or stand mixer. The mixture should look pale and airy.
Step 4: Add the Eggs and Vanilla
Beat in the eggs, one at a time, ensuring each is well incorporated. Stir in the vanilla extract for that classic cupcake flavor.
Step 5: Alternate Wet and Dry Ingredients
Gradually add the dry ingredients to the wet mixture, alternating with the sour cream and milk. Start and end with the dry ingredients. Mix until just combined. Overmixing can lead to dense cupcakes, so keep it gentle.
Step 6: Fill and Bake
Using a small cookie scoop or spoon, fill the mini cupcake liners about two-thirds full. Bake for 10-12 minutes, or until a toothpick inserted into the center comes out clean. Let them cool in the pan for a few minutes before transferring to a wire rack.
Frosting and Decorating
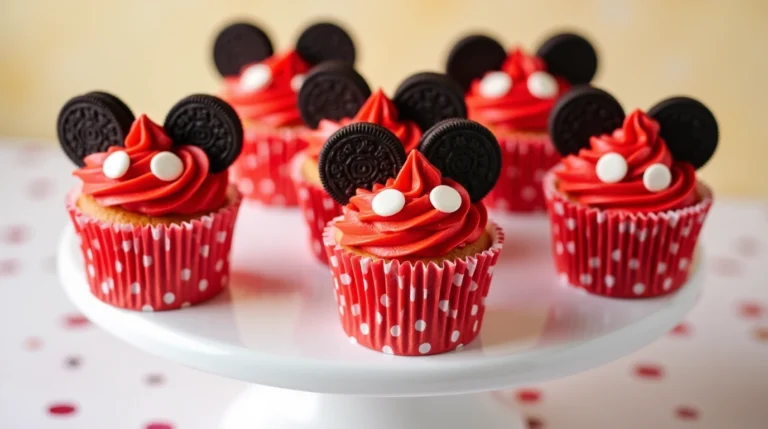
Once your cupcakes are completely cool, it’s time to decorate! You can keep it simple with classic buttercream, or go all out with sprinkles, edible glitter, or even mini chocolate chips.
- Beat the butter until creamy.
- Gradually add the powdered sugar, mixing well.
- Add the milk and vanilla, adjusting for your desired consistency.
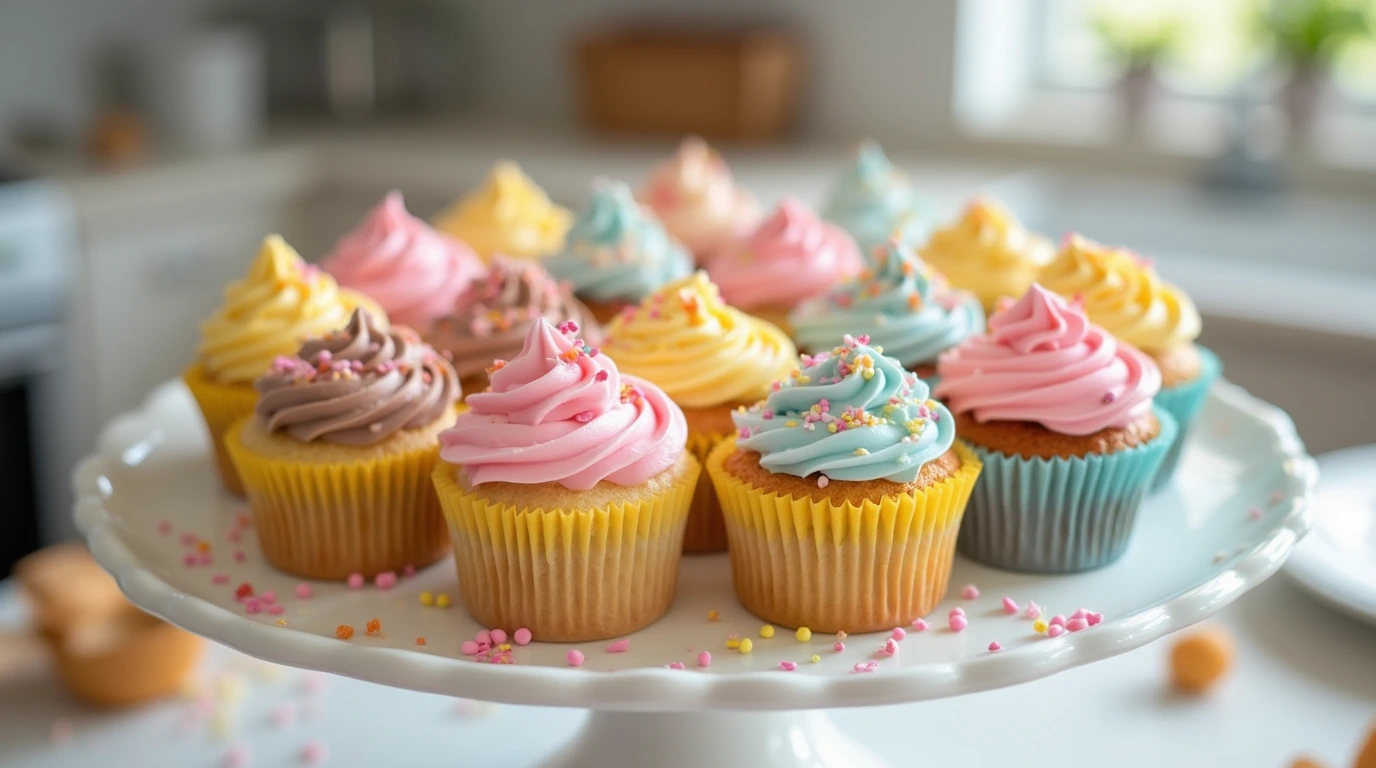
- Divide the frosting and add food coloring if you like.
- Pipe or spread the frosting onto your mini cupcakes.
Fun Variations
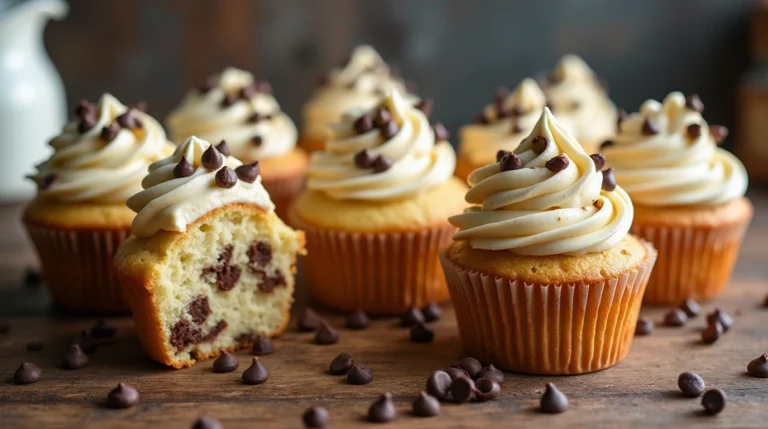
- Chocolate Lovers: Add 1/4 cup cocoa powder to the dry ingredients and use chocolate frosting.
- Lemon Bliss: Add the zest of one lemon and a tablespoon of lemon juice to the batter.
- Berry Delight: Fold in 1/2 cup of fresh or frozen berries.
- Funfetti: Mix in 1/4 cup of rainbow sprinkles for a festive look.
Tips for Success
- Room Temperature Ingredients: Ensure your butter, eggs, and milk are at room temperature for a smooth batter.
- Don’t Overfill: Mini cupcakes rise quickly, so only fill liners two-thirds full.
- Test for Doneness: Keep an eye on the oven since mini cupcakes bake faster than regular ones.
- Have Fun Decorating: Let kids join in for a mini cupcake decorating party!
Final Thoughts
Mini cupcakes are a delightful way to spread a little joy. Whether you’re celebrating a milestone or simply want to brighten someone’s day, these tiny treats never disappoint. Try out different flavors, get creative with toppings, and most importantly — savor every bite!
I’d love to hear how your mini cupcake adventure turns out. Share your pictures and stories in the comments below! Happy baking!
Frequently Asked Questions (FAQs)
1. Can I freeze mini cupcakes? Yes, you can! Place unfrosted mini cupcakes in an airtight container and freeze for up to 3 months. Thaw at room temperature before adding frosting.
2. How do I store leftover cupcakes? Keep them in an airtight container at room temperature for up to 3 days. If they have perishable frosting, store them in the refrigerator.
3. Can I make mini cupcakes gluten-free? Absolutely! Substitute the all-purpose flour with a 1:1 gluten-free flour blend.
4. Can I add fillings to mini cupcakes? Yes! After baking, use a small piping tip or a straw to remove a little cake from the center and fill with jam, chocolate ganache, or caramel.
5. What type of frosting works best? Buttercream is the most classic option, but cream cheese frosting, ganache, or whipped cream work wonderfully too.
6. How can I make dairy-free mini cupcakes? Use plant-based butter, almond milk, and dairy-free yogurt for a dairy-free version.
7. Can I double this recipe? Yes! Just double the ingredients and bake in batches as needed.
8. How can I ensure my mini cupcakes are uniform in size? A small cookie scoop or tablespoon works perfectly to evenly distribute the batter.
9. What’s the best way to transport mini cupcakes? A cupcake carrier with slots for mini cupcakes is ideal, but you can also use a shallow container with a lid.
10. Can I make the batter ahead of time? It’s best to bake the batter right after mixing. However, you can refrigerate it for up to an hour before baking if necessary.
Leave a Review
There are no reviews yet. Be the first one to write one.
Related Posts

Wedding Cake Cupcakes
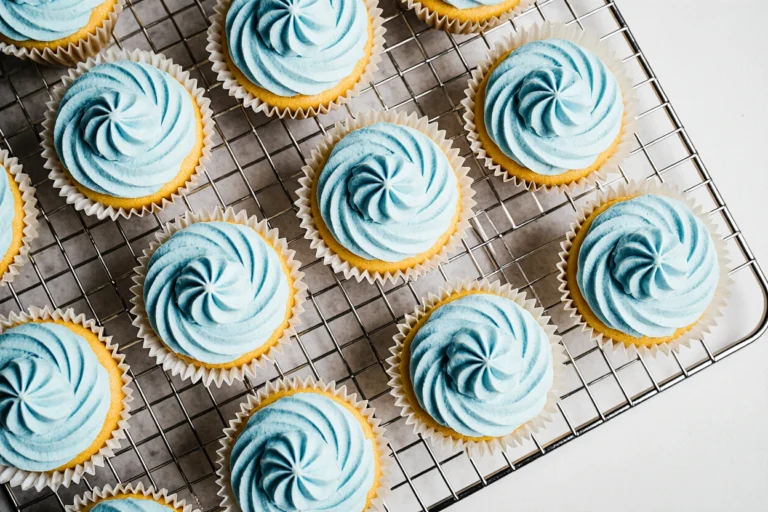
Blue Cupcakes
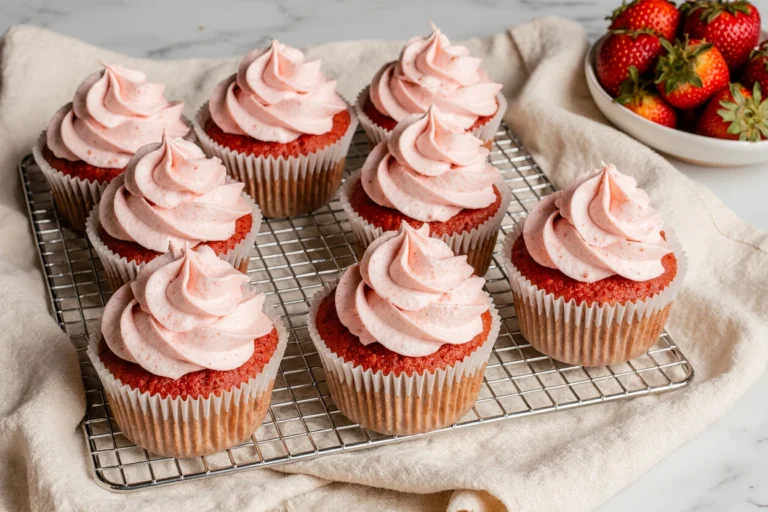
Strawberry Cake
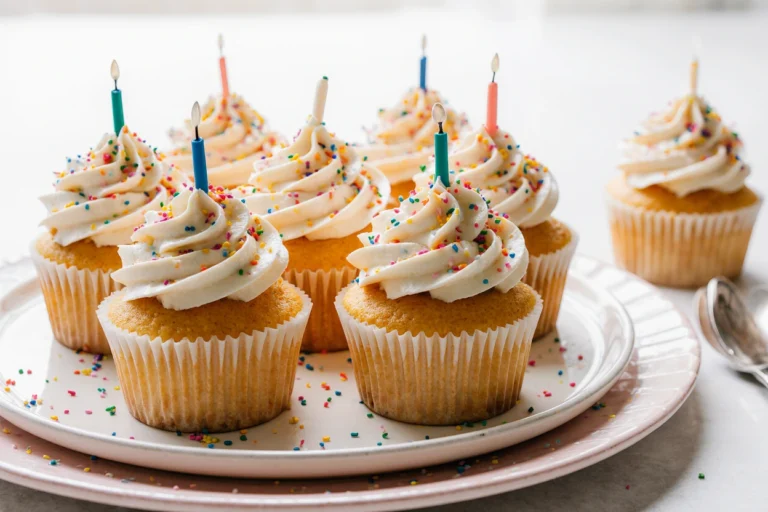
Happy Birthday Cupcakes