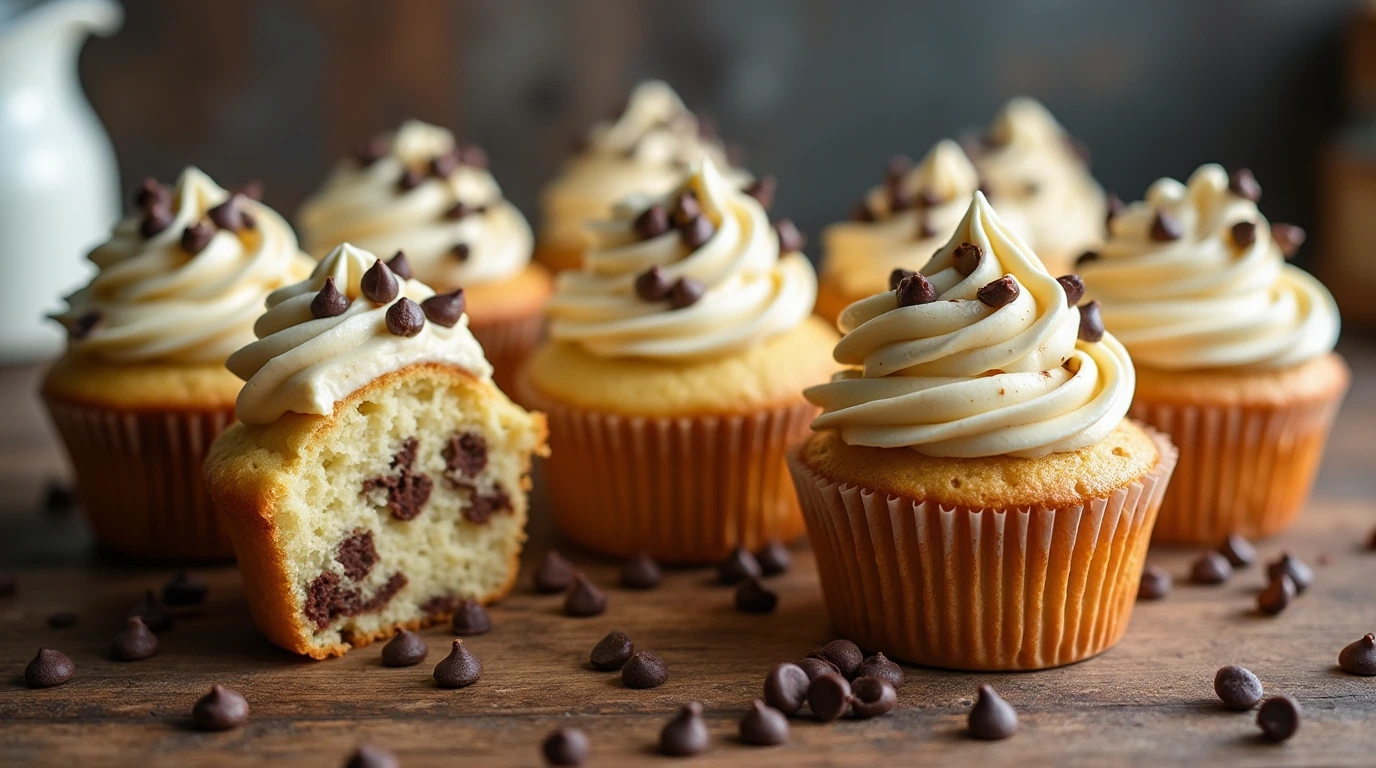
Chocolate Chip Cupcakes: A Sweet Treat for Every Occasion
There’s something undeniably magical about the combination of chocolate and fluffy cake. The rich, melty pockets of chocolate chips surrounded by a soft, buttery crumb can turn even the gloomiest day into a celebration. I still remember the first time I baked chocolate chip cupcakes with my kids — the kitchen was filled with laughter, a light dusting of flour on the floor, and the irresistible aroma of freshly baked goodness. Needless to say, we were sneaking chocolate chips before they even made it to the batter!
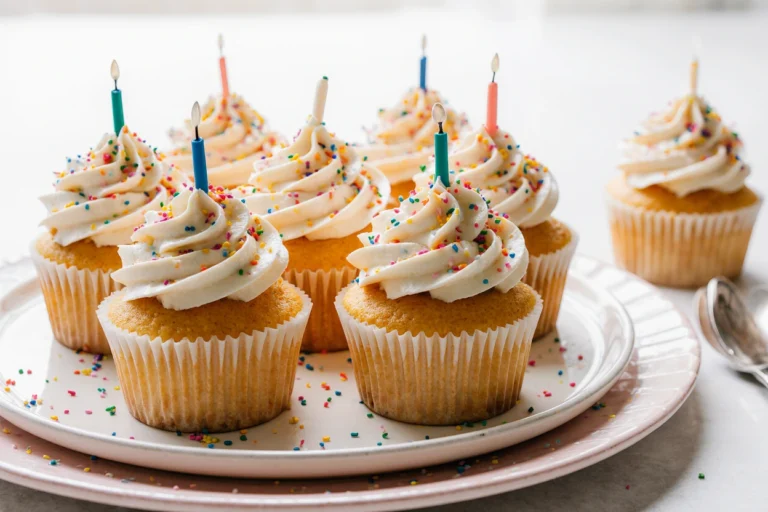
If you’re in the mood for a little nostalgia or simply craving a delightful dessert, this chocolate chip cupcake recipe is exactly what you need. These chocolate chip cupcakes are perfect for birthday parties, bake sales, or just a cozy afternoon treat. And the best part? They’re incredibly easy to make!
Table of Contents
The History of Chocolate Chip Cupcakes
Did you know that chocolate chips were actually invented by accident? Ruth Graves Wakefield, the owner of the Toll House Inn, is credited with creating the first chocolate chip cookie in the 1930s. She chopped up a chocolate bar and added the pieces to her cookie dough, expecting them to melt into the batter. Instead, they retained their shape, giving birth to the iconic chocolate chip cookie.
The cupcake twist was a natural evolution — combining the joy of cupcakes with the indulgence of chocolate chips. Today, chocolate chip cupcakes a staple at celebrations and a favorite among dessert lovers.
Why You’ll Love These Cupcakes
- Simple Ingredients: You probably have most of these ingredients in your pantry right now.
- Bursting with Chocolate: Each bite is loaded with gooey chocolate chips.
- Customizable: You can get creative with mix-ins or toppings.
- Kid-Friendly: Little hands love helping sprinkle chocolate chips and mix the batter.
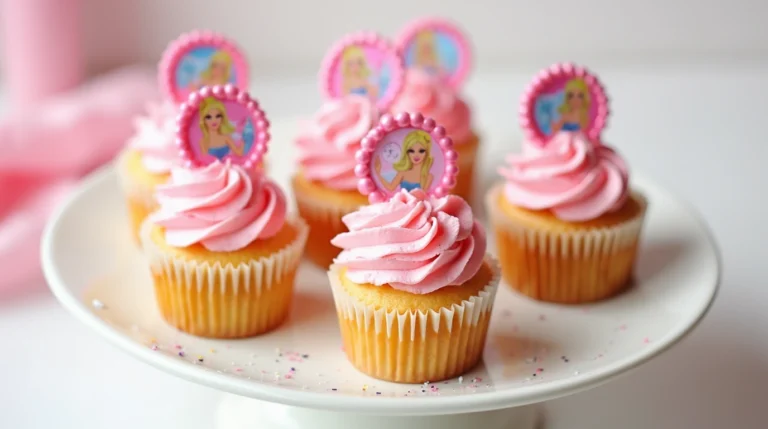
- Perfect for Any Occasion: Whether it’s a birthday, a bake sale, or just a “treat yourself” day, these cupcakes are always a hit.
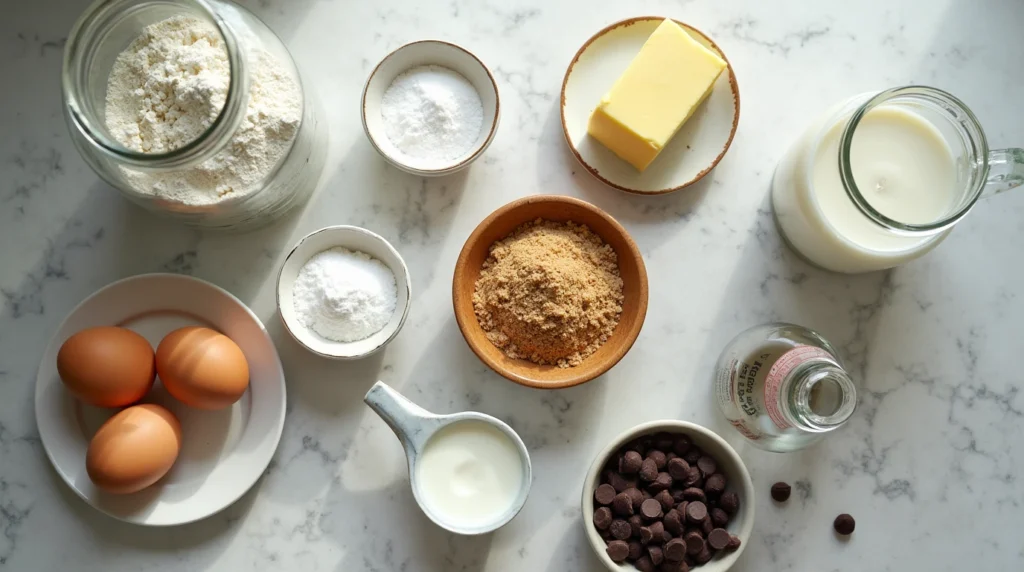
Ingredients You’ll Need
I am not using all of the ingredients, so you can add/remove any ingredient based on your preference.
For the Cupcakes:
- 1 3/4 cups all-purpose flour
- 1 1/2 tsp baking powder
- 1/2 tsp baking soda
- 1/2 tsp salt
- 1/2 cup unsalted butter, softened
- 3/4 cup granulated sugar
- 1/4 cup brown sugar
- 2 large eggs
- 1 tsp vanilla extract
- 1/2 cup sour cream or Greek yogurt
- 1/2 cup whole milk
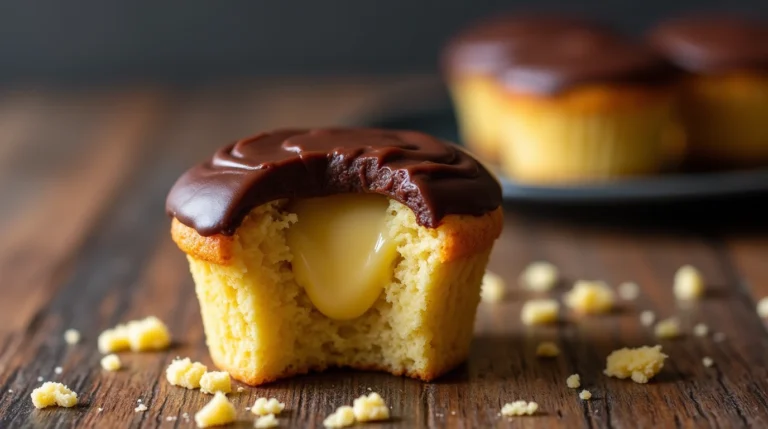
- 1 cup chocolate chips (semi-sweet or milk chocolate)
For the Frosting (Optional but Highly Recommended!):
- 1 cup unsalted butter, softened
- 3 cups powdered sugar
- 1/4 cup cocoa powder (if making chocolate frosting)
- 2-3 tbsp milk or heavy cream
- 1 tsp vanilla extract
- Pinch of salt
Step-By-Step Instructions
Step 1: Preheat and Prepare
Preheat your oven to 350°F (175°C) and line a 12-cup muffin tin with cupcake liners. This makes cleanup a breeze and keeps your cupcakes looking picture-perfect.
Step 2: Mix the Dry Ingredients
In a medium bowl, whisk together the flour, baking powder, baking soda, and salt. Set aside. This step ensures your leavening agents are evenly distributed, leading to light and fluffy cupcakes.
Step 3: Cream the Butter and Sugars
In a large bowl, use a hand mixer or stand mixer to beat the butter, granulated sugar, and brown sugar until the mixture is light and fluffy. This should take about 2-3 minutes. Don’t rush this step; the aeration process is key to a soft cupcake.
Step 4: Add the Wet Ingredients
Beat in the eggs one at a time, making sure each is fully incorporated before adding the next. Stir in the vanilla extract for that sweet, aromatic touch. Then add the sour cream (or Greek yogurt) and mix until smooth.
Step 5: Combine and Fold
Gradually add the dry ingredients to the wet ingredients, alternating with the milk. Start and end with the dry ingredients. Mix until just combined. Overmixing can lead to dense cupcakes, and we want these to be light and airy!
Step 6: Add the Chocolate Chips
Gently fold in the chocolate chips using a spatula. If you’re a chocoholic like me, don’t hesitate to sprinkle in a few extra!
Step 7: Bake
Spoon the batter into the cupcake liners, filling them about two-thirds full. Bake for 18-22 minutes or until a toothpick inserted in the center comes out clean.
Let the cupcakes cool in the pan for about 5 minutes, then transfer them to a wire rack to cool completely.
Optional: Make the Frosting
For those who believe cupcakes are merely a vehicle for frosting, this buttercream is a must!
- Beat the butter on medium speed until creamy.
- Gradually add the powdered sugar and cocoa powder (if using), alternating with tablespoons of milk to reach your desired consistency.
- Stir in the vanilla extract and a pinch of salt.
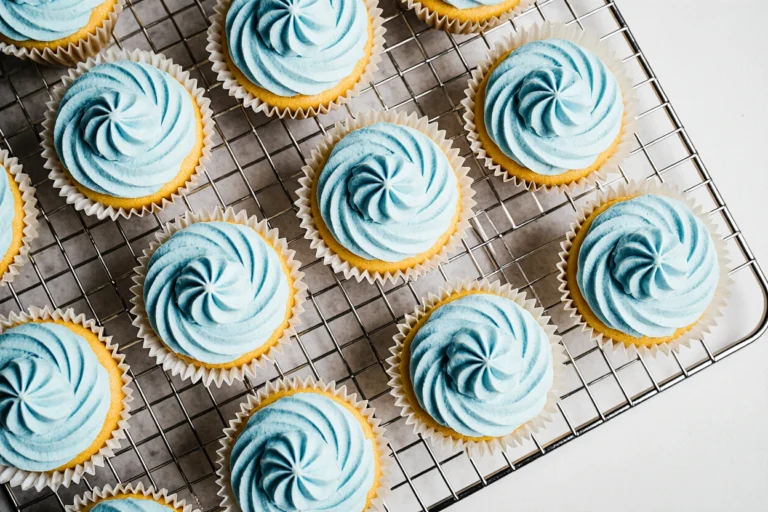
- Frost your cooled cupcakes using a piping bag or an offset spatula.
Tips and Variations
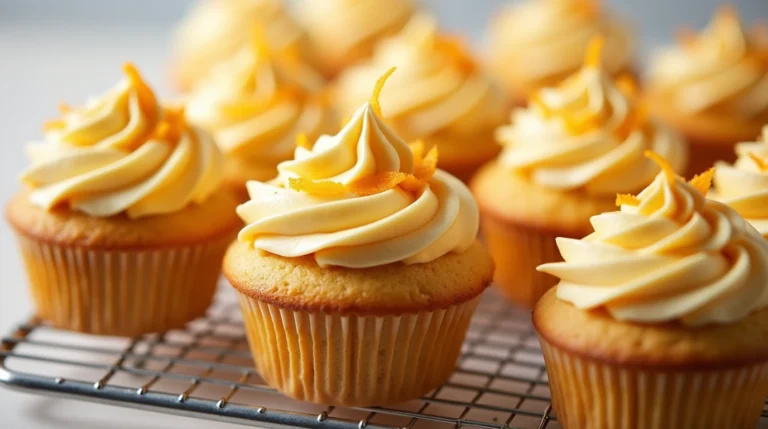
- Mix It Up: Try using dark chocolate chips for a richer flavor or white chocolate for a sweeter twist.
- Add Nuts: A handful of chopped walnuts or pecans adds a delightful crunch.
- Flavor Boost: Add a teaspoon of espresso powder to enhance the chocolate flavor.
- Mini Cupcakes: Adjust the baking time to around 10-12 minutes for bite-sized treats.
- Extra Moisture: Add a tablespoon of vegetable oil for even softer cupcakes.
Troubleshooting Tips
- Cupcakes Too Dense? You may have overmixed the batter. Mix just until combined.
- Sinking Chocolate Chips? Toss the chips in a bit of flour before folding them into the batter.
- Dry Cupcakes? Ensure you’re not overbaking. Check a couple of minutes before the suggested bake time.
Final Thoughts
These chocolate chip cupcakes are guaranteed to win hearts and satisfy sweet cravings. Whether you enjoy them plain, dusted with powdered sugar, or slathered with decadent frosting, they’ll be a hit.
So, what are you waiting for? Gather your ingredients, preheat that oven, and get baking! And don’t forget to share your creations — I’d love to see how they turn out. Happy baking!
Have a favorite cupcake tip or a fun baking memory? Drop it in the comments below!
Frequently Asked Questions (FAQs)
1. Can I freeze chocolate chip cupcakes?
Yes! Store unfrosted cupcakes in an airtight container and freeze for up to 3 months. Thaw at room temperature before frosting.
2. Can I make these cupcakes gluten-free?
Absolutely! Substitute the all-purpose flour with a gluten-free flour blend.
3. How can I store leftovers?
Keep your cupcakes in an airtight container at room temperature for up to 3 days or refrigerate for up to a week.
4. Can I reduce the sugar?
You can reduce the sugar by about ¼ cup, but keep in mind it may slightly alter the texture.
5. How do I know when my cupcakes are done?
Insert a toothpick in the center; if it comes out clean or with a few crumbs, they’re ready.
6. Can I add frosting without piping tools?
Of course! Simply use a butter knife or an offset spatula to spread the frosting smoothly. You can even dip the cupcakes in frosting for a rustic look.
7. What type of chocolate chips work best?
Semi-sweet chocolate chips are the classic choice, but milk chocolate, dark chocolate, or even white chocolate chips work great depending on your preference.
8. Can I use buttermilk instead of regular milk?
Yes, buttermilk adds a slight tang and extra moisture to the cupcakes. It’s a fantastic substitution!
9. How do I prevent my cupcakes from sticking to the liners?
Use high-quality cupcake liners and ensure your cupcakes are fully cooled before peeling off the liners.
10. Can I make the batter ahead of time?
It’s best to bake the cupcakes right after preparing the batter for optimal rise. However, you can store the batter in the fridge for a few hours if needed. Just give it a gentle stir before baking.
Leave a Review
There are no reviews yet. Be the first one to write one.