Easy Boston Cream Cupcakes Recipe
A Sweet Memory: Why I Love Boston Cream Cupcakes
Have you ever taken a bite of something and instantly felt like you were transported back in time? That’s exactly how I feel every time I sink my teeth into a Boston Cream Cupcake. Growing up, my grandmother always had a knack for baking, and Boston Cream Pie was one of her specialties. I still remember standing by her side in the kitchen, watching as she layered the fluffy cake, silky vanilla custard, and glossy chocolate glaze.
But let’s be real—sometimes, you don’t want to commit to an entire cake. Enter: Boston Cream Cupcakes! These little treats capture all the flavors of the classic Boston Cream Pie but in a perfectly portioned, handheld pleasure.
Table of Contents
What Makes Boston Cream Cupcakes Irresistible?
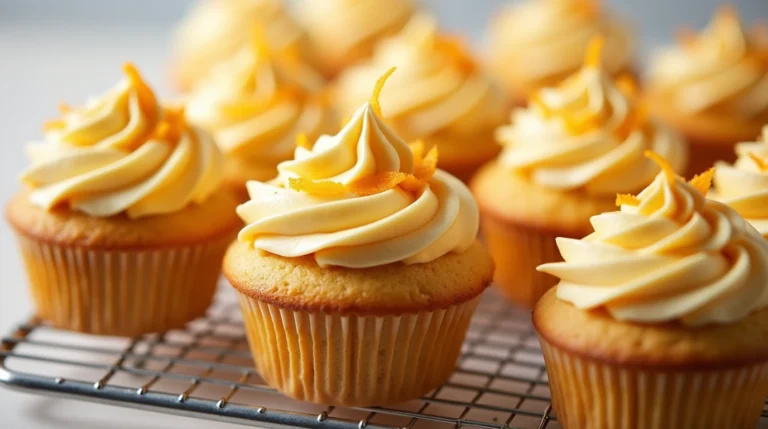
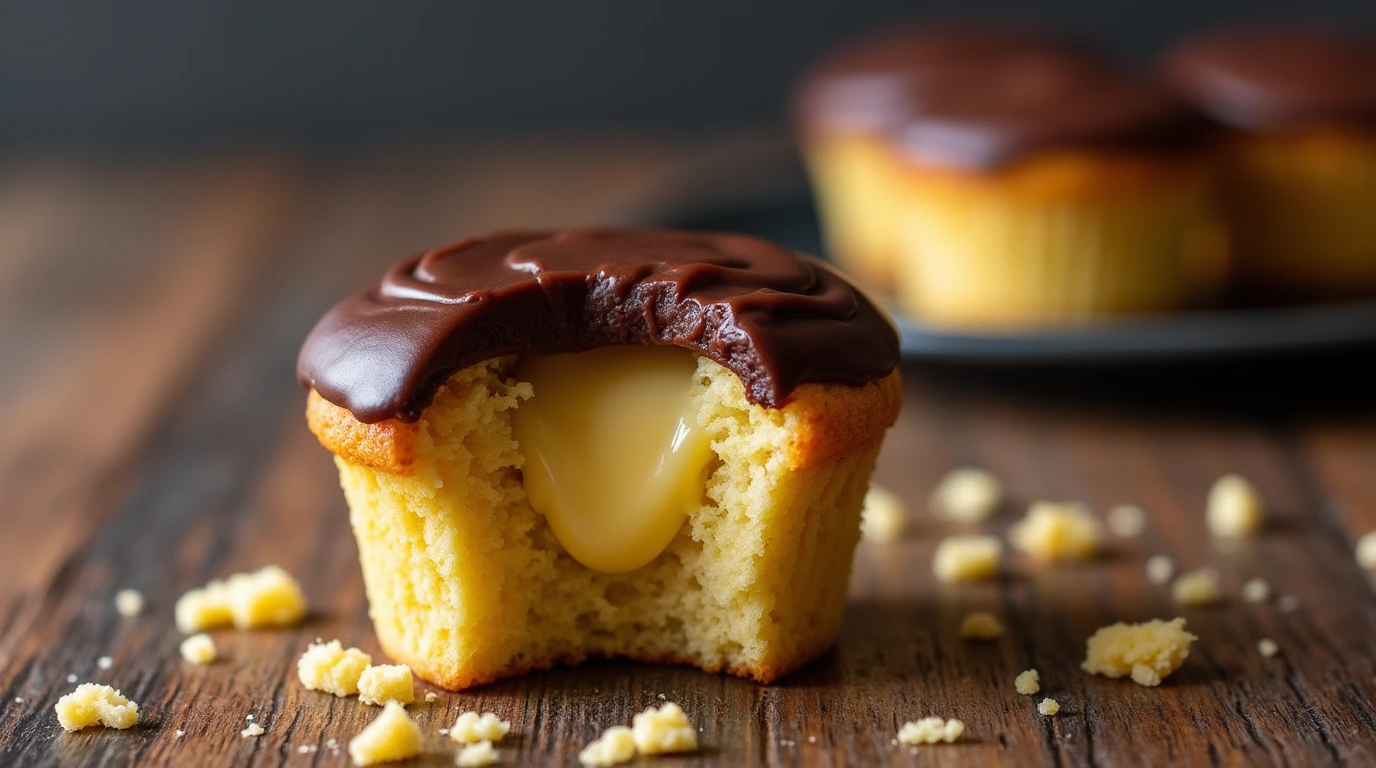
Imagine biting into a soft, fluffy vanilla cupcake filled with rich, creamy custard and topped with a luscious chocolate glaze. The combination of textures—light cake, smooth filling, and glossy topping—is pure perfection. Whether you’re making these for a party, a bake sale, or just because you deserve a sweet treat, Boston Cream Cupcakes will never disappoint.
And the best part? Boston Cream Cupcakes are surprisingly easy to make at home, and once you try them, you’ll never go back to store-bought desserts again.
Ready to bake up some magic? Let’s get started!
The History Behind Boston Cream
Before we dive into the recipe, let’s take a quick journey through history. The Boston Cream Pie, from which these cupcakes are inspired, dates back to the 19th century. It was created by French chef Sanzian at the Parker House Hotel in Boston in 1856. Fun fact: Despite being called a “pie,” it’s actually a cake! The name likely stuck because, back in the day, cakes and pies were often baked in the same pans.
Boston Cream Pie became so beloved that in 1996, it was named the official state dessert of Massachusetts. That’s right—this dessert has official status! And while the original cake is delicious, these cupcakes offer all the same wonderful flavors in an easy-to-eat format.
Boston Cream Cupcake Recipe
Ingredients
For the Cupcakes:
- 1 1/2 cups all-purpose flour
- 1 1/2 tsp baking powder
- 1/4 tsp salt
- 1/2 cup unsalted butter, softened
- 3/4 cup granulated sugar
- 2 large eggs
- 1 1/2 tsp vanilla extract
- 1/2 cup whole milk
For the Custard Filling:
- 1 cup whole milk
- 1/2 cup heavy cream
- 1/4 cup granulated sugar
- 2 tbsp cornstarch
- 2 large egg yolks
- 1 tsp vanilla extract
- 1 tbsp unsalted butter
For the Chocolate Ganache:
- 1/2 cup heavy cream
- 4 oz semi-sweet chocolate, chopped
- 1 tbsp unsalted butter
- 1 tsp vanilla extract
Step-by-Step Instructions
Step 1: Bake the Cupcakes
- Preheat and Prep: Preheat your oven to 350°F (175°C) and line a cupcake tin with paper liners.
- Mix Dry Ingredients: In a medium bowl, whisk together the flour, baking powder, and salt. Set aside.
- Cream Butter and Sugar: In a large bowl, beat the butter and sugar together until light and fluffy (about 2-3 minutes).
- Add Eggs and Vanilla: Mix in the eggs, one at a time, then add vanilla extract.
- Combine Wet and Dry: Alternately add the dry ingredients and milk to the butter mixture, starting and ending with the flour mixture. Mix until just combined.
- Fill and Bake: Divide the batter evenly among the cupcake liners, filling each about 2/3 full. Bake for 18-20 minutes, or until a toothpick inserted in the center comes out clean.
- Cool Completely: Allow cupcakes to cool in the pan for 5 minutes, then transfer them to a wire rack to cool completely.
Step 2: Make the Custard Filling
- Heat the Milk and Cream: In a saucepan over medium heat, warm the milk and heavy cream until steaming but not boiling.
- Whisk the Egg Mixture: In a separate bowl, whisk together sugar, cornstarch, and egg yolks until smooth.
- Temper the Eggs: Slowly pour about 1/2 cup of the hot milk into the egg mixture while whisking continuously. This prevents the eggs from scrambling!
- Thicken the Custard: Pour the egg mixture back into the saucepan and cook over medium heat, stirring constantly, until thickened (about 2-3 minutes).
- Add Butter and Vanilla: Remove from heat, stir in butter and vanilla extract. Let it cool completely.
Step 3: Make the Chocolate Ganache
- Heat the Cream: In a small saucepan, heat the heavy cream until just about to boil.
- Melt the Chocolate: Pour the hot cream over the chopped chocolate and let sit for 2 minutes. Stir until smooth.
- Add Butter and Vanilla: Stir in butter and vanilla for extra silkiness. Let it cool slightly until thickened but still pourable.
Step 4: Assemble the Cupcakes
- Fill the Cupcakes: Use a sharp knife or a cupcake corer to cut out the center of each cupcake. Spoon or pipe in the custard filling.
- Top with Ganache: Spoon or dip each cupcake into the chocolate ganache, letting it drip slightly for that signature Boston Cream look.
- Let Set: Allow the cupcakes to sit for 15-20 minutes so the ganache can firm up.
Tips & Variations
- Shortcut Alert: Don’t have time to make everything from scratch? Use store-bought vanilla pudding for the filling and a cake mix for the cupcakes.
- Want Extra Flavor? Add a touch of espresso powder to the ganache for a richer taste.
- Dairy-Free Version: Swap out the milk and cream for non-dairy alternatives like almond milk and coconut cream.
- Make it Fancy: Sprinkle crushed nuts or sea salt on top of the ganache for a gourmet touch.
How to Store Boston Cream Cupcakes
If you somehow manage to have leftovers (I doubt it!), you can store your cupcakes in an airtight container in the refrigerator for up to 3 days. Let them come to room temperature before eating for the best texture.
For longer storage, freeze the cupcakes without the ganache, then add the topping once they’re thawed.
Final Thoughts: A Cupcake Worth Savoring
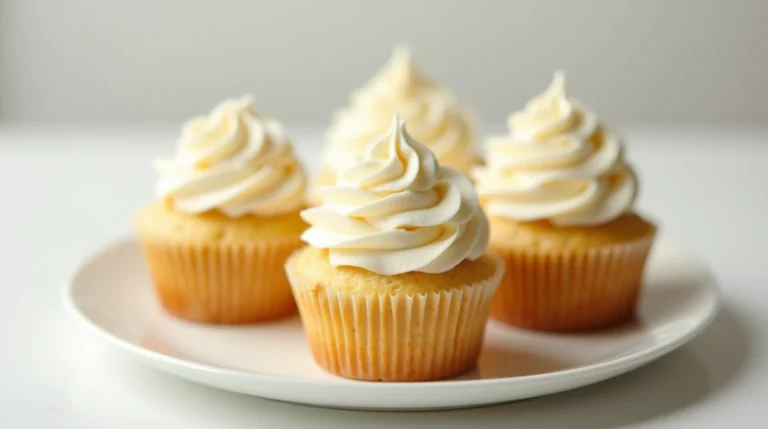
There you have it—homemade Boston Cream Cupcakes that taste like they came straight from a fancy bakery! These little delights are the perfect balance of creamy, chocolaty, and fluffy goodness. They’re great for sharing (or not—I won’t judge if you keep them all for yourself!).
Have you tried this recipe? I’d love to hear how it turned out! Leave a comment below or tag me on social media with your creations. Happy baking!
FAQ: All Your Boston Cream Cupcake Questions Answered
- Can I use a cake mix instead of making the cupcakes from scratch?
Yes, you can! While homemade cupcakes are always better, you can definitely use a store-bought cake mix. Just follow the directions on the box and then continue with the custard filling and ganache. - Can I make these cupcakes gluten-free?
Yes, you can! Use a gluten-free all-purpose flour blend in place of the regular flour. Be sure to check that your custard filling ingredients (like cornstarch and vanilla) are also gluten-free. - How long do Boston Cream Cupcakes last?
If stored in an airtight container in the fridge, these cupcakes will stay fresh for up to 3 days. You can also freeze them (without the ganache) for up to a month, then top them with ganache once they’re thawed. - Can I use a different filling instead of custard?
Absolutely! While custard is traditional, you can use vanilla pudding, whipped cream, or even a chocolate mousse if you prefer. Just make sure it’s thick enough to stay inside the cupcakes! - Can I make the custard in advance?
Yes, you can! You can prepare the custard filling up to 2 days ahead of time. Just store it in an airtight container in the fridge and give it a good stir before using it to fill the cupcakes. - Can I freeze Boston Cream Cupcakes?
Yes, freeze the cupcakes (without the ganache) for up to 1 month. Let them thaw completely at room temperature before adding the ganache to avoid a runny topping. - What if I don’t have a cupcake corer?
No worries! You can use a sharp knife to carefully cut out the centers of the cupcakes, making a small well in the middle. Just be gentle and try not to cut too deep! - Can I make these cupcakes dairy-free?
Definitely! You can substitute the dairy products with non-dairy alternatives like almond milk, coconut milk, and non-dairy butter. For the custard, use a dairy-free heavy cream alternative or full-fat coconut milk. - What type of chocolate should I use for the ganache?
Semi-sweet chocolate works best for a rich yet balanced flavor. You can use milk chocolate for a sweeter topping or dark chocolate for a more intense flavor, depending on your taste preference. - Can I make these cupcakes ahead of time?
Yes, you can! Bake the cupcakes and fill them with custard, then store them in the fridge. Add the ganache just before serving for the best presentation and texture.
Leave a Review
There are no reviews yet. Be the first one to write one.